
 Galaxy Forms Support
Appearance
Using Quick Sign
Sometimes, users may have documents that have been handwritten or printed, and they need a bit of additional information or a signature. Quick Sign is a great option for “one time use” cases. The following example is a permission form from a school for a child to be allowed as a guest to another school’s dance. It has been filled out by the school of the child, but they need the signature of the principal from the school in which the child will be visiting.
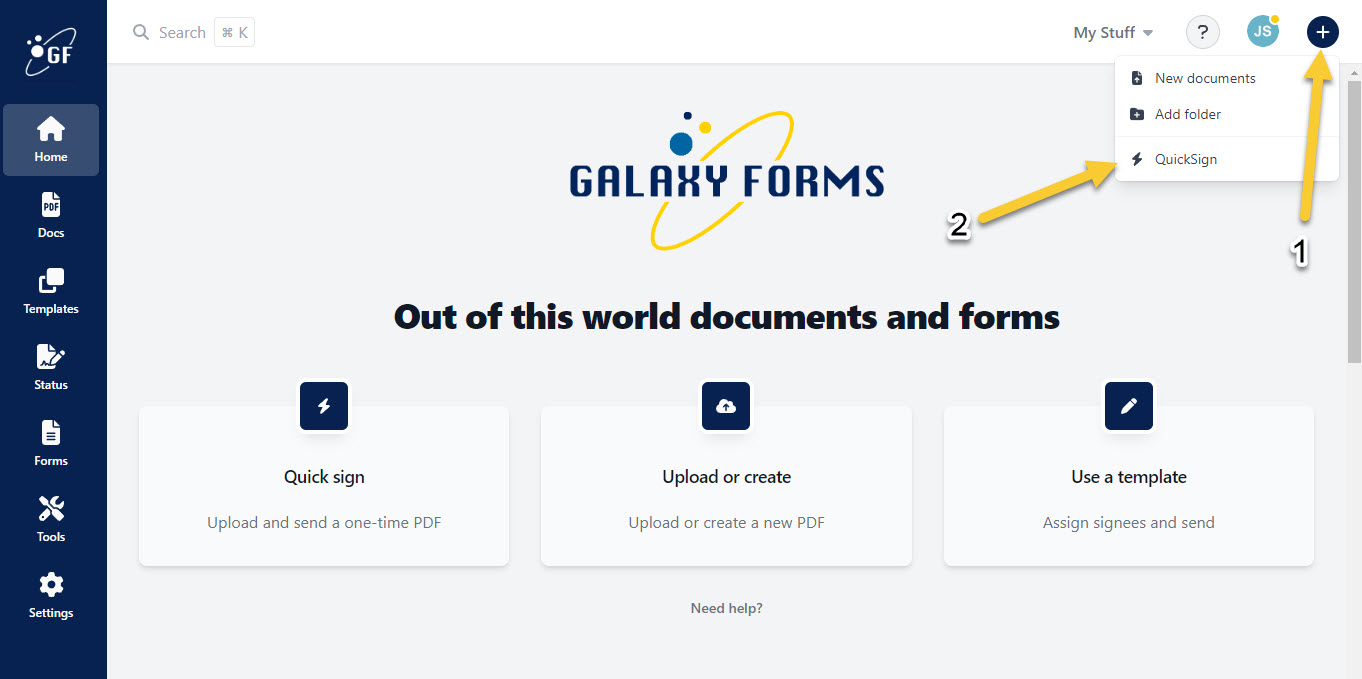
In order to do this, the home school has filled out the form via pen and paper, and then they have scanned the document to become a PDF. In Galaxy Forms, they can then navigate to the top right of the page, click on the + button, and select “Quick Sign”.
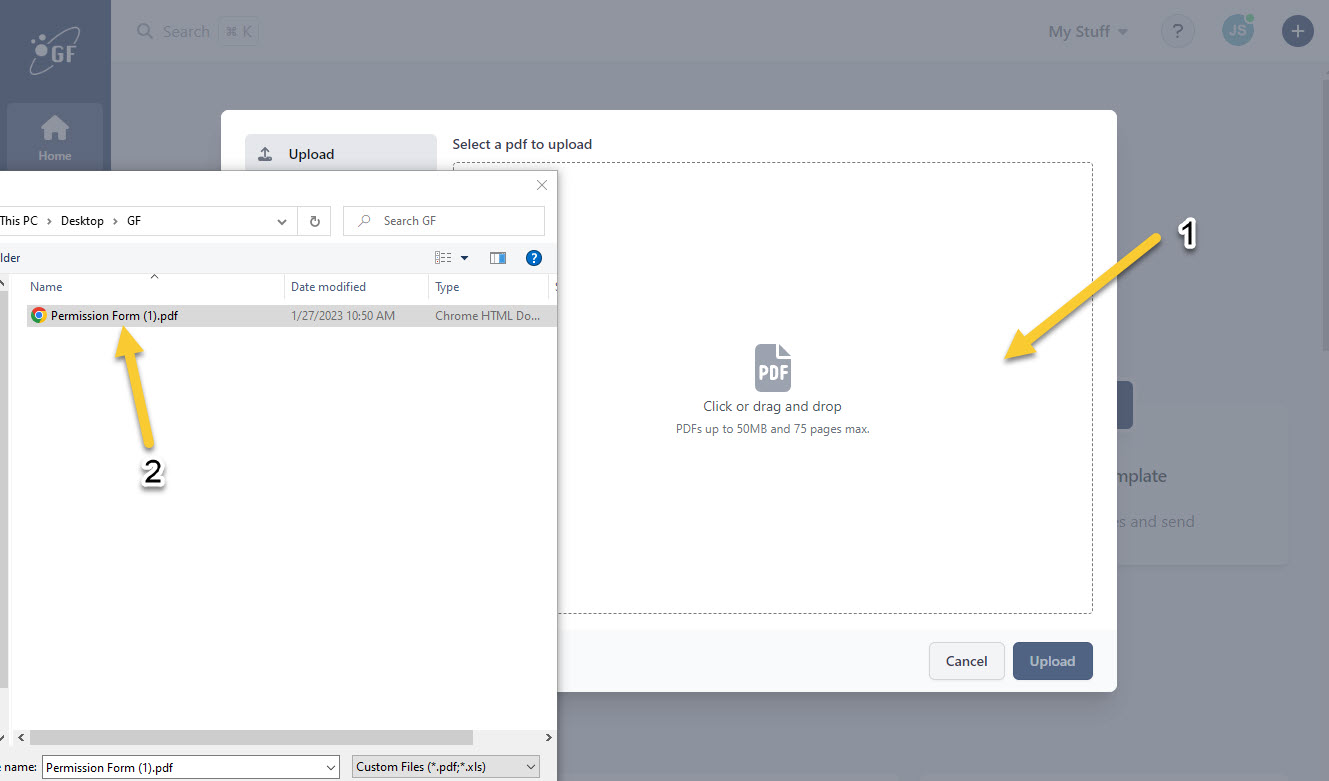
After clicking on “Quick Sign”, the user can find the document wherever they have stored the scanned PDF, and then they can upload it into Galaxy Forms.
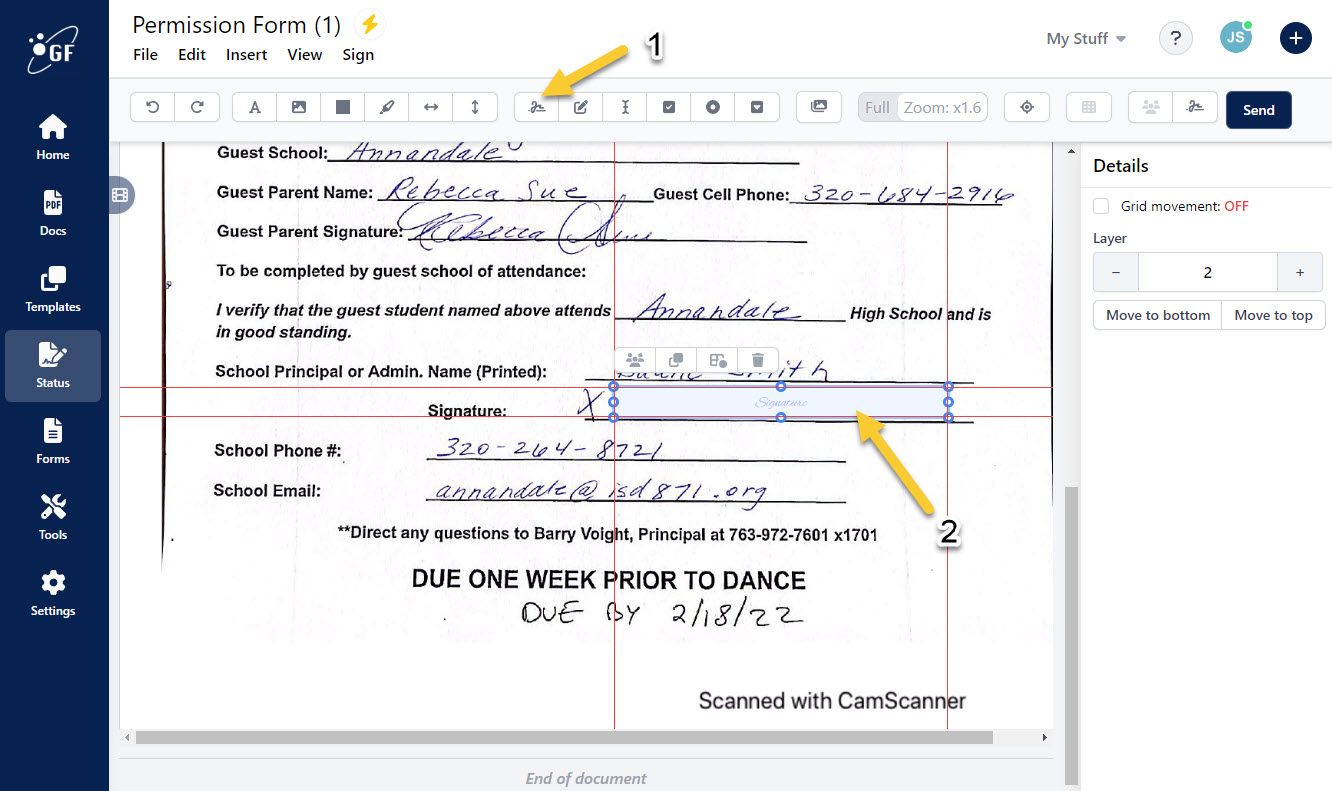
Once the document has been uploaded, it will open in the editor. Next, assign the necessary fields that need to be completed as well as the signees who will be required to complete this document.
In this case, only a signature from the visiting school Principal is needed, so the user would select the signature field input and then place it where needed on the document. Users would also be able to add any form fields to the document if an answer from the signee such as an input field, or a checkbox for a yes/no question is needed.
note: If the sender's signature is required in the document, the sender can drag their signature to its proper place within the document. This will provide the sender's signature without making them go through the "signing" process.
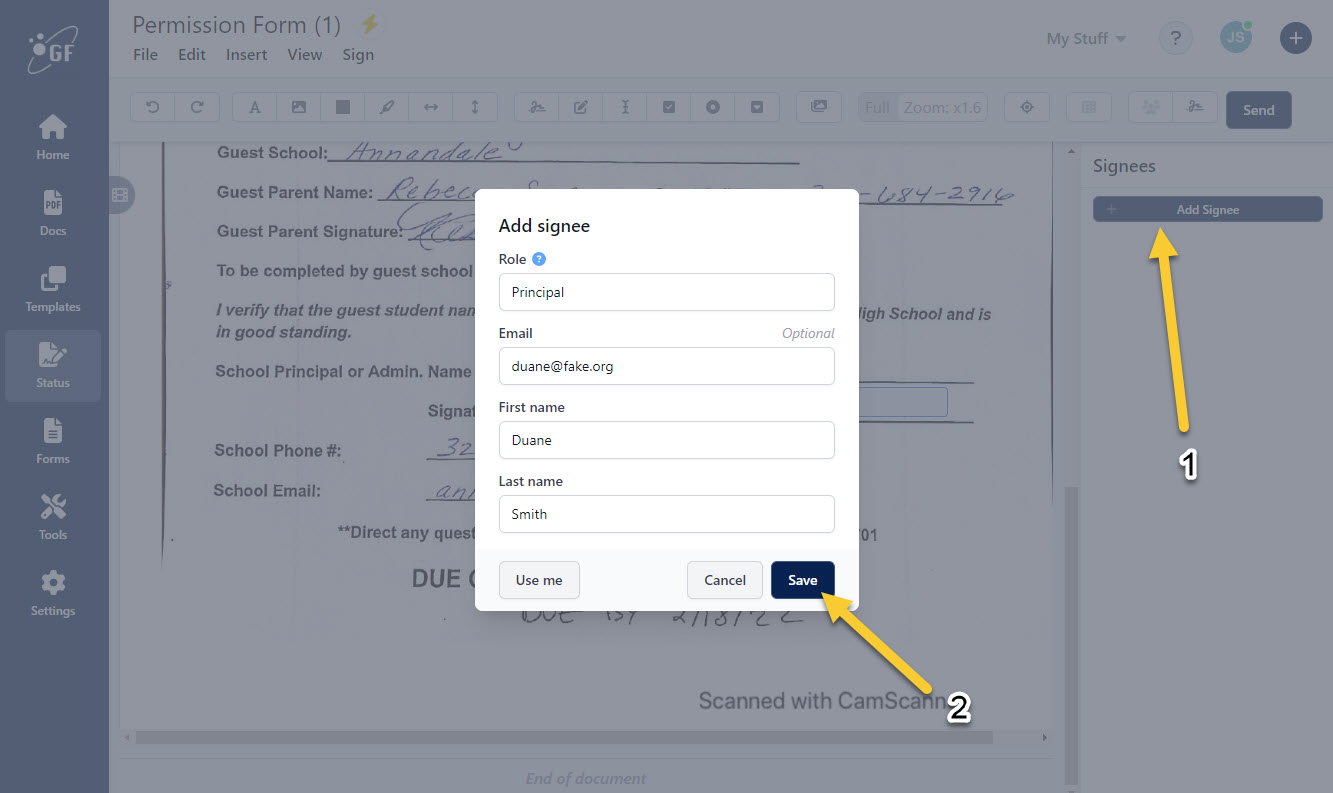
Once the field (or fields) have been placed, click on “Add Signee” in the top right of the page. This will prompt a user to put in the information of who is needed to complete this document.
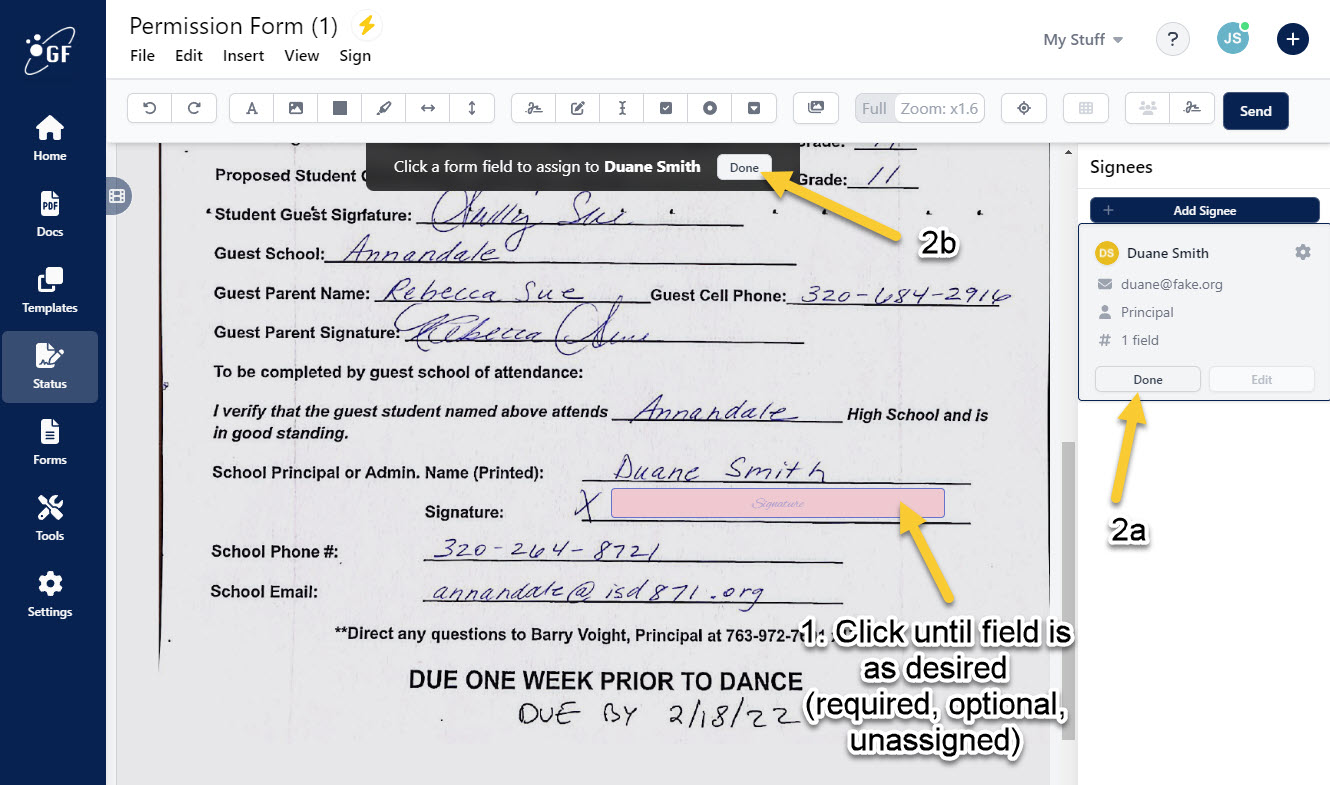
Once the Signee has been chosen, click on “Assign Fields”, and then click on any fields that need completed by that Signee.
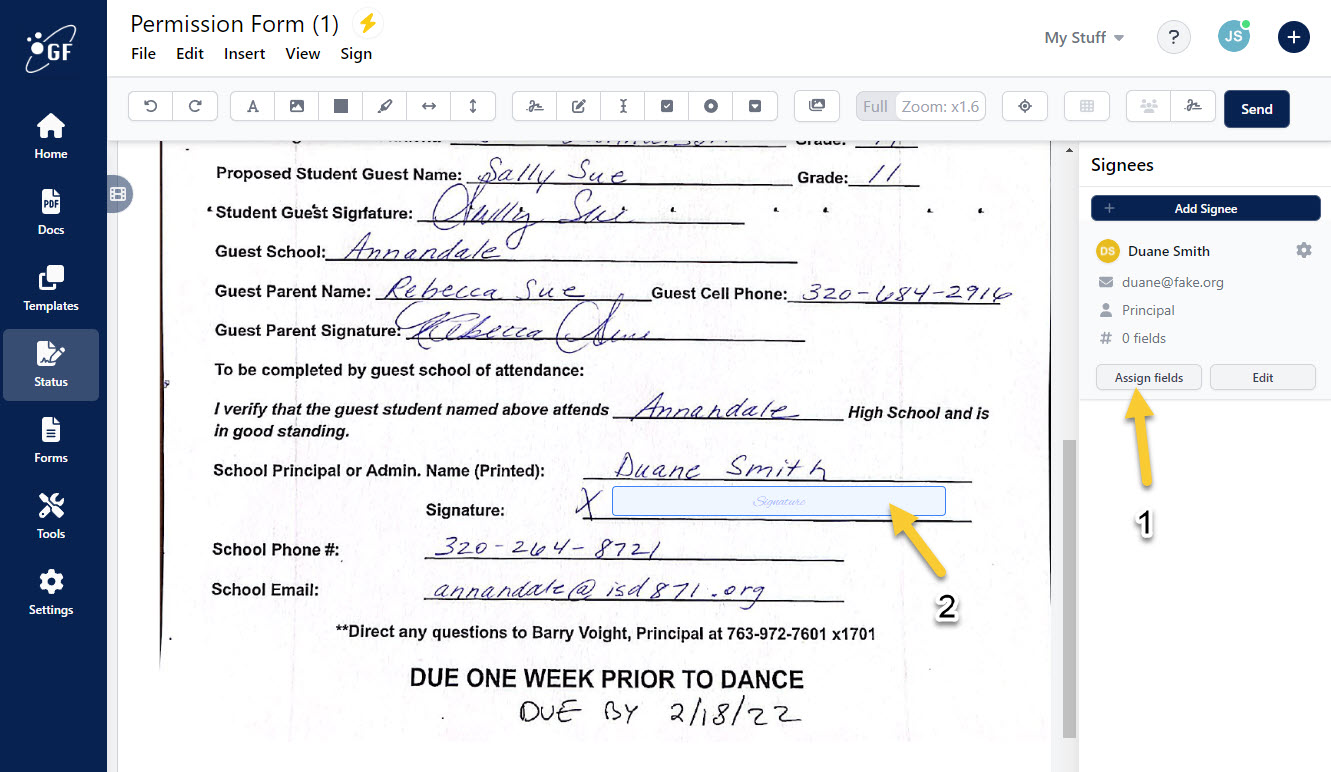
Once finished assigning fields and making sure that they are the appropriate level (required, optional, unassigned), hit the “Done” button to save the fields to that signee.
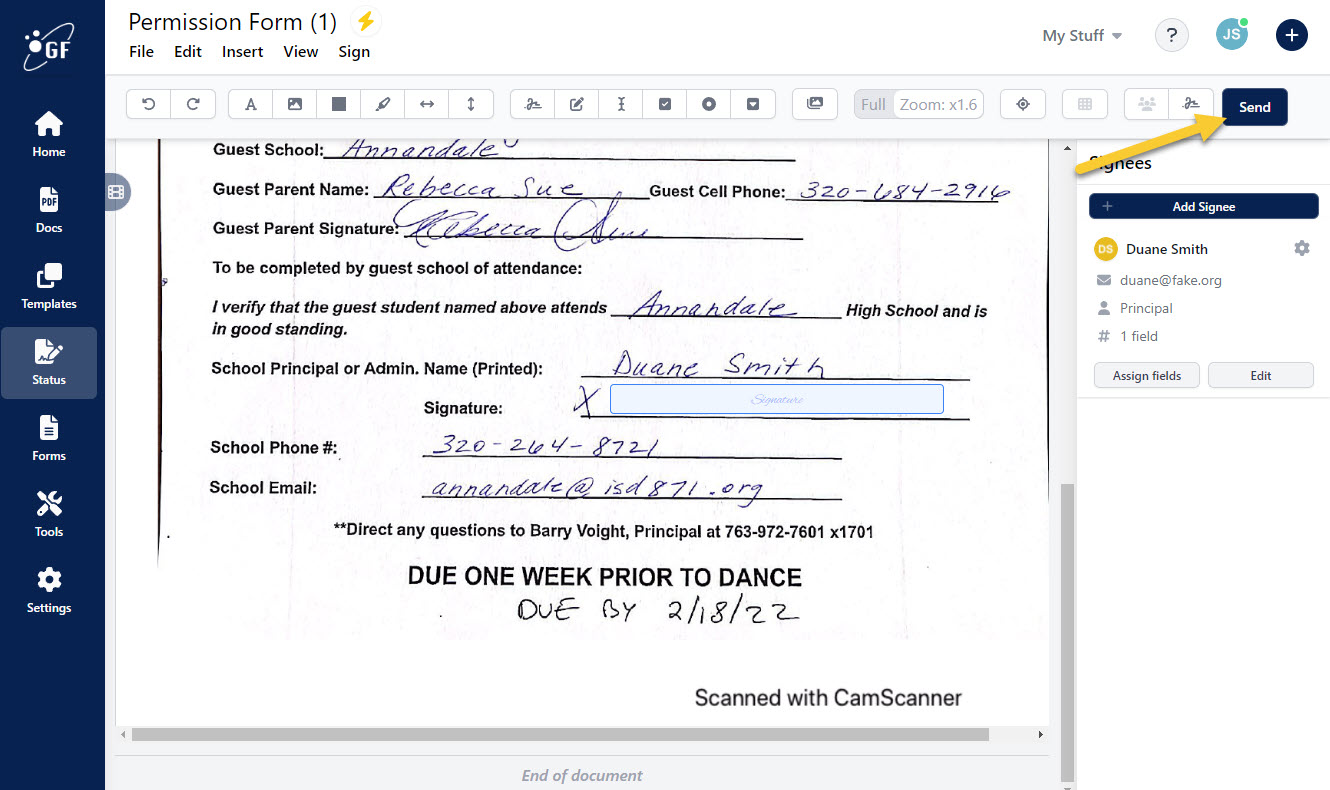
All that is left to do now is hit the “Send” button at the top right of the page. This will email the document out to the Signee for completion in the same format that is used when sending out a document from the Templates section.
Once the principal of the visiting school completes this document, a copy of the signed document will be emailed to all parties involved.